
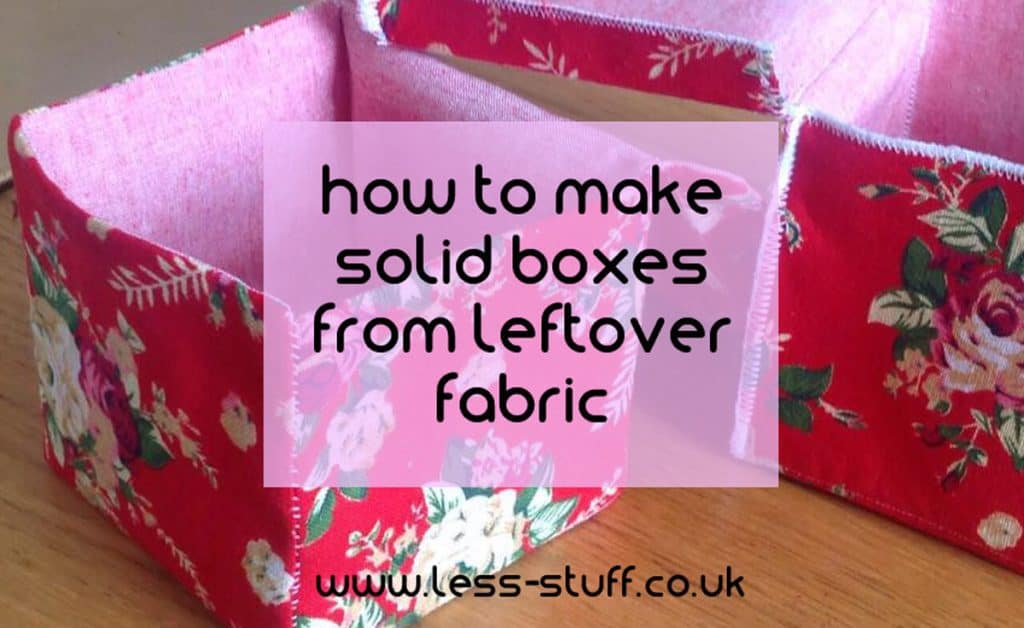
 One of the best things about being part of a community of any sort, is when people share amazing ideas. Shirley Blair Procter is in the Ikea Live Lagom group and she posted a fantastic upcycle made from old material. Her original boxes were made as packing pods and they have zips around the outside. I was worried that putting a zip in would be tricky so she went away and invented these boxes with lids. They can be made by hand if you don’t have a sewing machine.
Shirley has two ways to make the boxes, the instructions are for the hand sewn version and the sewing machine version is underneath them.
You will need:
- Two lots of fabric you like – could be the same fabric, could be different, it’s up to you! It needs to be rigid, not stretchy fabric, although the fusing will stabilise it. You don’t need new fabric, you could use an old piece of clothing.
- One lot of firm iron on fusing
- Thread
- Scissors
- Pins
- Sewing machine or a needle.
- An iron/ironing surface.
- Paper to make a template, and a different pair of scissors to cut the paper (never use fabric scissors for paper, you’ll blunt them!)
1. First, make your template – depending on what shape you want your box, either a square or oblong, you’ll need to make a net (unfolded cube) like you probably did in school. For box 2, you will need a seam allowance.
2. Once you have your paper net, pin it onto both layers of fabric, and 1 layer of iron on fusing, then cut it out.
3. Then iron on the fusing to the wrong side of one piece of fabric – whichever side you won’t see once you’ve sewn it all together. It doesn’t really matter which fabric you iron it onto, as it won’t be visible.
4. Pin both pieces of fabric/fusing together, right sides together.
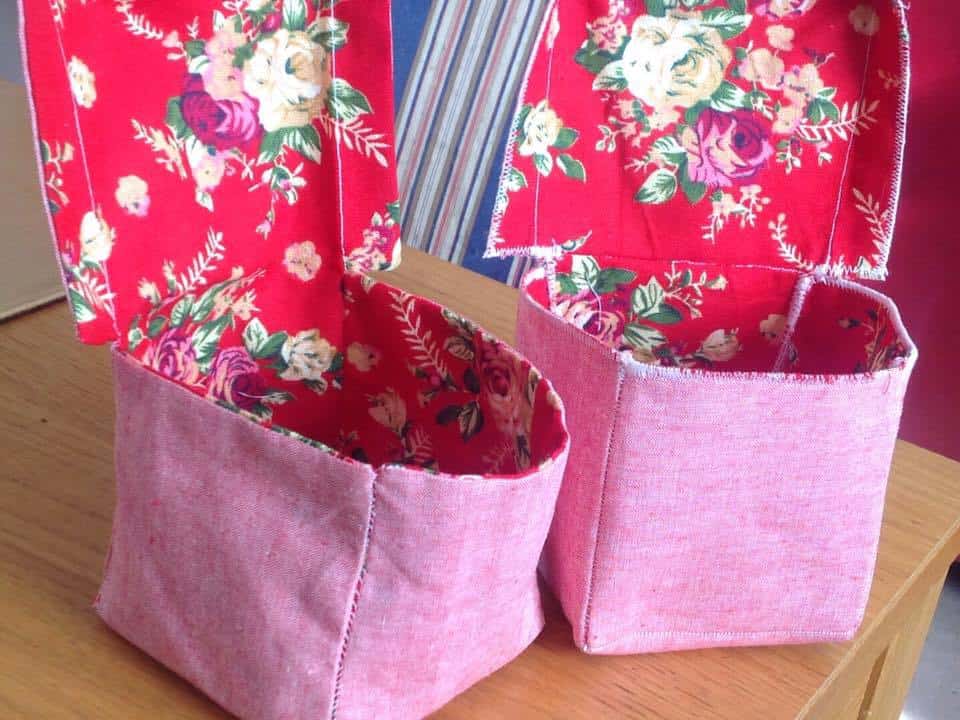
5. Sew both pieces of fabric together along the stitching line – use the edge of the iron on fusing as your stitching line. If you don’t have a sewing machine, you could use back stitch instead. Make sure you leave one side open, so you can turn the whole thing the right way out. I left one of the sides open, as I’ll be stitching it together later on.
6. Clip the outer corners off and snip into the inner corners of your cube, then turn right side out. Make sure you’ve pressed the corners out firmly – I use a chopstick my dad brought back from Hong Kong many years ago, as it’s a perfect shape.
7. Press your cube, and pin your turning opening closed.
8. Sew along the bits of the fabric that will make the base edges and lid edges, use your machine or use back stitch again.
9. Assemble the cube! Pin the sides to each other to form a box shape, pin the sides of the lid to each other, then sew together using a needle and thread, making sure you’ve caught both layers of fabric. Tie the loose threads off and snip.
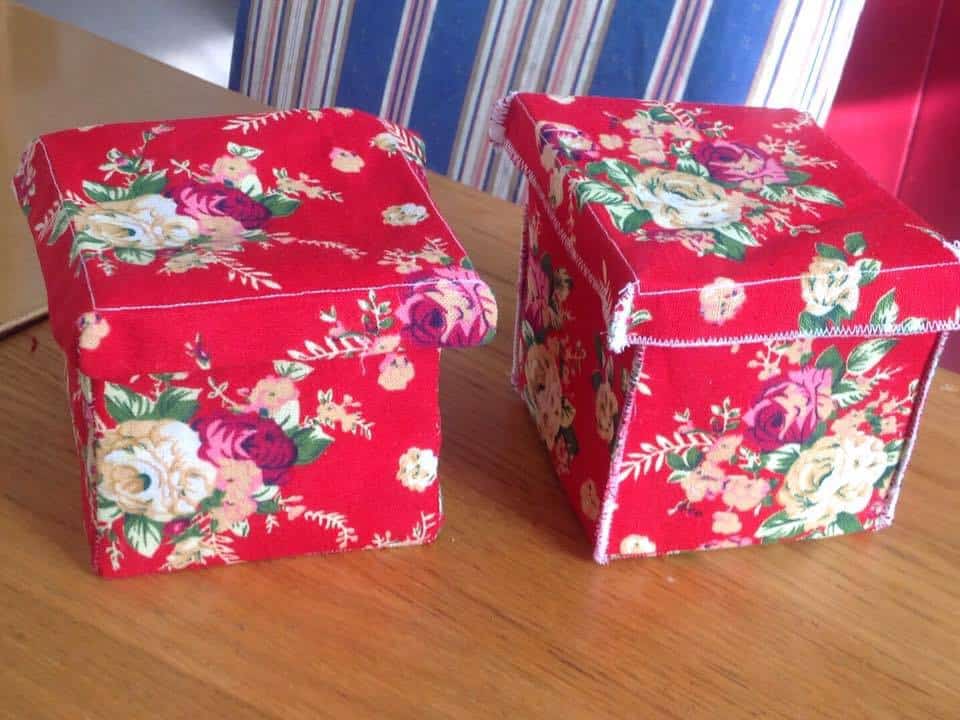
10. Snip any loose threads, re-iron your cube, and you’re done!
For the zig zagged or blanket stitched version use these instructions from step 4 onwards.
5. Zigzag stitch the edges of the fabric together, using a wide zigzag stitch. If you don’t have a sewing machine, you could use blanket stitch instead.
6. Sew along the bits of the fabric that will make the base edges and lid edges.
7. Assemble the cube! Pin the sides to each other to form a box shape, pin the sides of the lid to each other, then zigzag together (or blanket stitch) making sure you’ve caught both layers of fabric. Tie the loose threads off and snip.
8. Snip any loose threads, re-iron your cube, and you’re done!
Aside from being a clever upcycler, Shirley is also a painter and you can see her work at http://canvasandpaints.blogspot.co.uk.
She paints incredible video game images to contribute to raising funds for 2 charities, Oxfam and Child’s Play.