
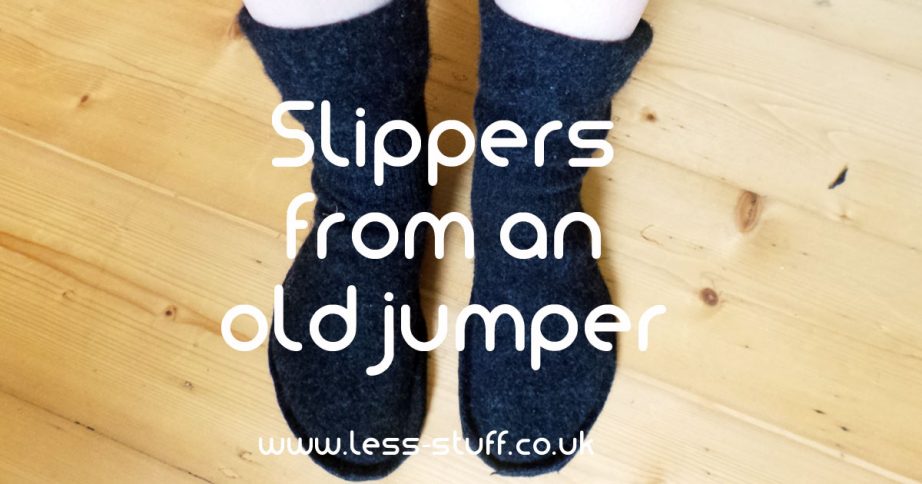
 This was originally an extra large lambswool jumper that got into the washing machine by accident. I’m not sad about it, it originally came from a second hand market stall so it has had plenty of use. If you don’t have a shrunk jumper to hand this would work with fleece too. The important thing is that the cuff is tight enough to hold the slippers up around your ankle. If you have a half shrunk jumper, or one you don’t want to wear any more stick it in the washing machine on a hot wash with a pair of trainers.
You will need
- a felted jumper
- chalk
- pins
- a sewing machine or needle and thread
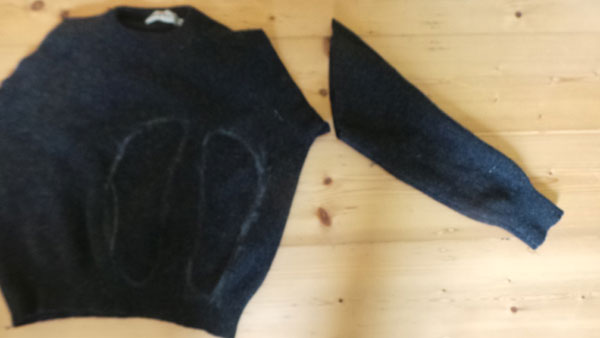
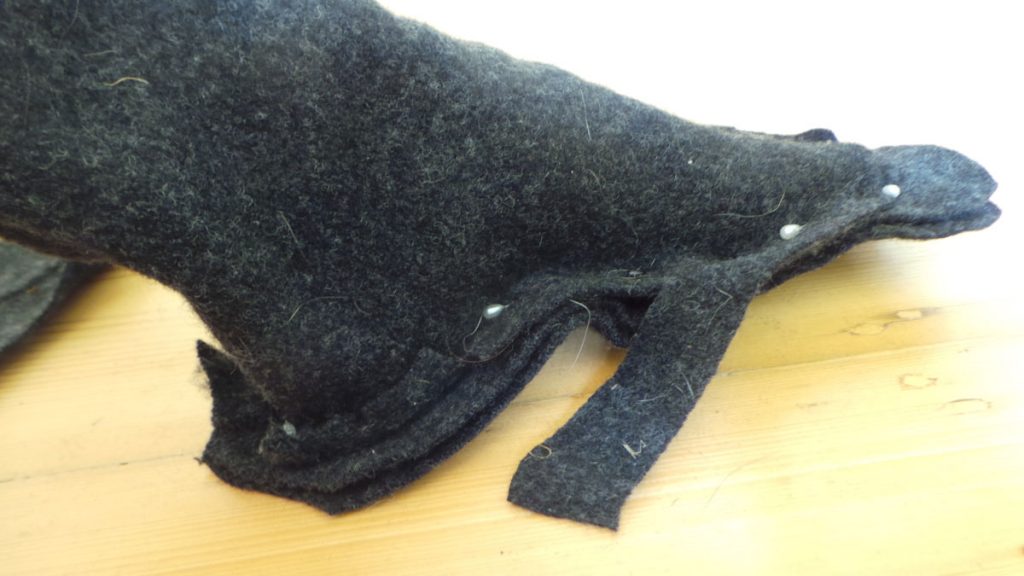
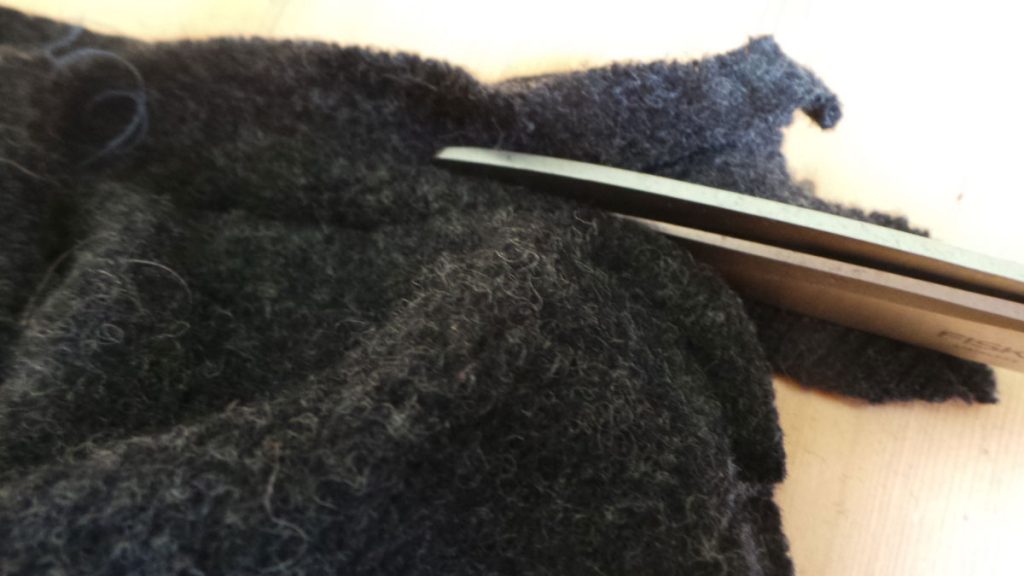
One sleeve cut and feet marked out in the densest part of the jumper. Apologies for the blurry photo but you can get the idea. I couldn’t retake this pic after I’d made the slippers!
Chalk around your feet
The soles of the slippers are made from 2 thicknesses of jumper, so draw chalk lines around your feet, or better still, get someone else to help you.
Cut out 2.5cm at least beyond the chalk marks.
Cut off the sleeves
The sleeves form the body of the slipper. Measure this by putting your foot into the sleeve cuff end. Pull the cuff up until it can’t go any further then start your diagonal cut 2 inches below that. Or as near as possible. If the cuffs are loose you might need to run some elastic through them when the slippers are finished.
Put a sleeve on your foot!
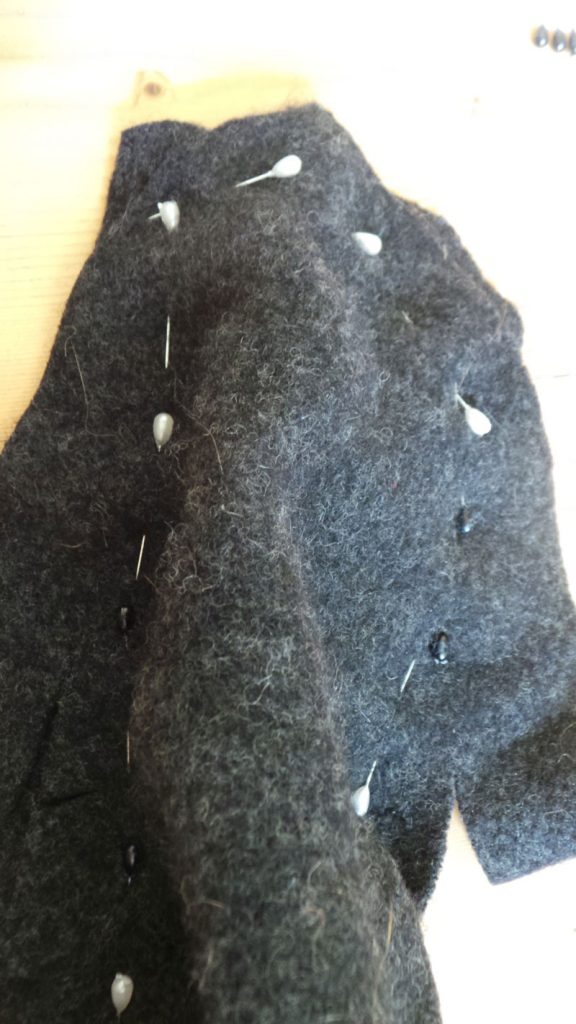
Put your foot in the cuff end with the underarm seam at the back of your heel. Pull the sleeves up as far as they can go. Now place that foot onto 2 of the cut out soles and start pinning all 3 layers together.
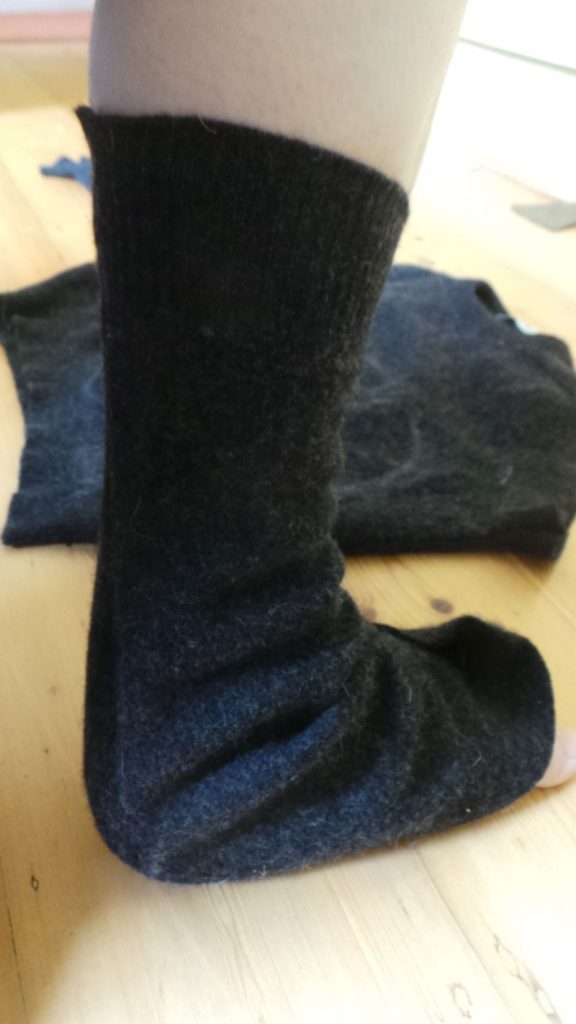
The sleeve is on my leg here, ready to match the sole up and pin it on.
You might need to take some of the fabric at the back away. Don’t cut it too close to the foot yet.
Take off the bulk of the fabric at the back
Work around a few times, adjusting the pins. Don’t worry about getting it perfect.
Take the slipper off and adjust
Unless you have someone helping you or you are very bendy, there will be bits you just cannot reach. When you take the slipper off you will be able to see what needs smoothing out and re-pinning. You can keep trying the slipper on to check.
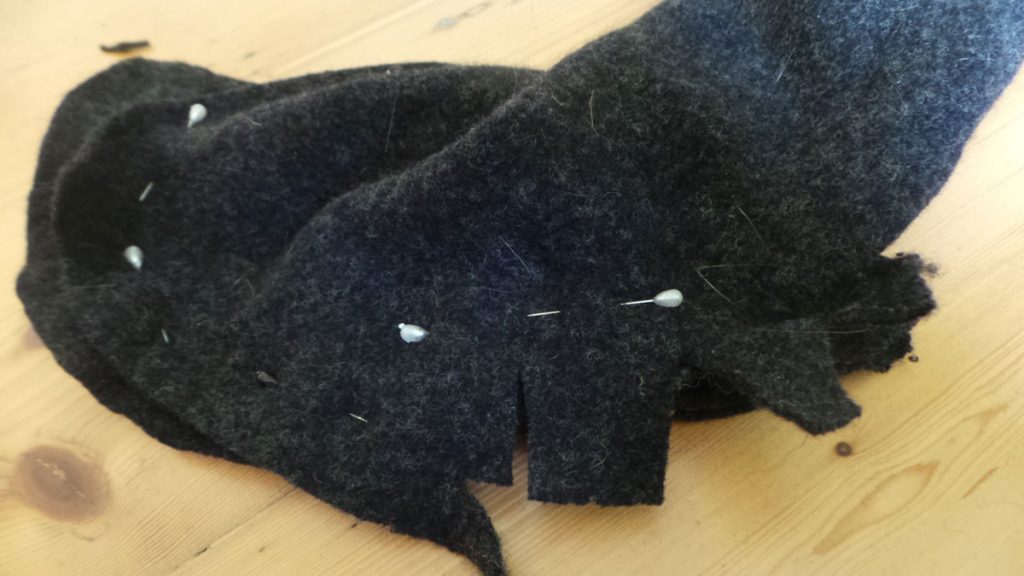
I couldn’t line this up when I was wearing them because I couldn’t reach. If the corners are hard to turn snip into them but don’t go too close to the pins.
Keep pinning for a perfect fit
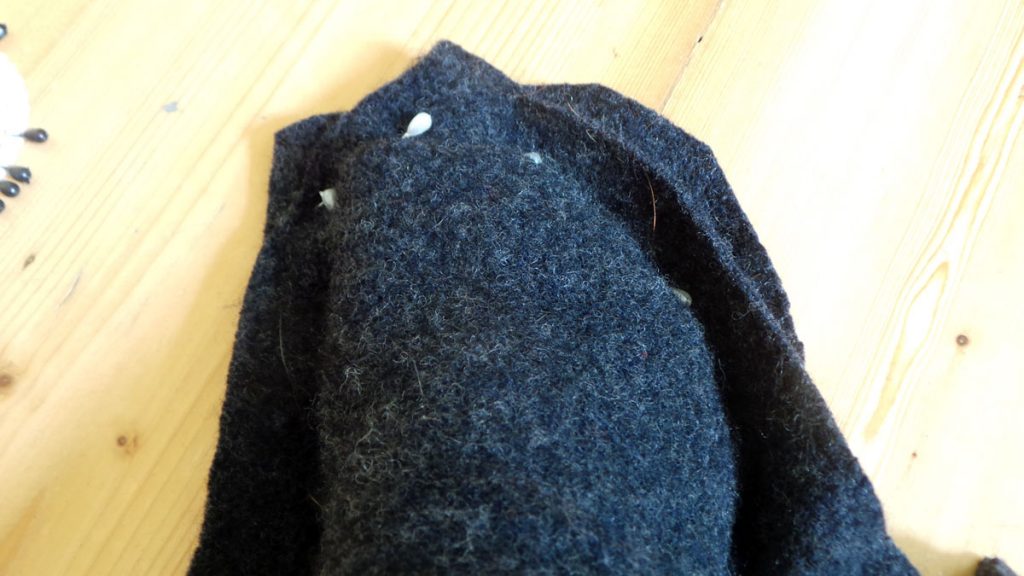
You want the sole to be flat on the floor and the top of the slipper to curve down tightly over your foot. The felt has some stretch in it still so it won’t feel tight when you wear it.

This is how tight it needs to be around the foot before you tack it.
Tack it then sew it.
I didn’t tack and I regret it. Tack the 3 layers together so you can check the shape of your slipper and make sure it is going to fit. Don’t worry about any bagginess at the ankle. When you turn the cuff down it will pull it all in. I used a long stitch on my sewing machine. If you are sewing by hand I advise sewing twice to make sure it is strong.
Trim off the edges
Leave about 6mm of fabric around the slippers when you trim them. This would look nice with some blanket stitching around it too.
Trimming around the slippers. Don’t go too close!
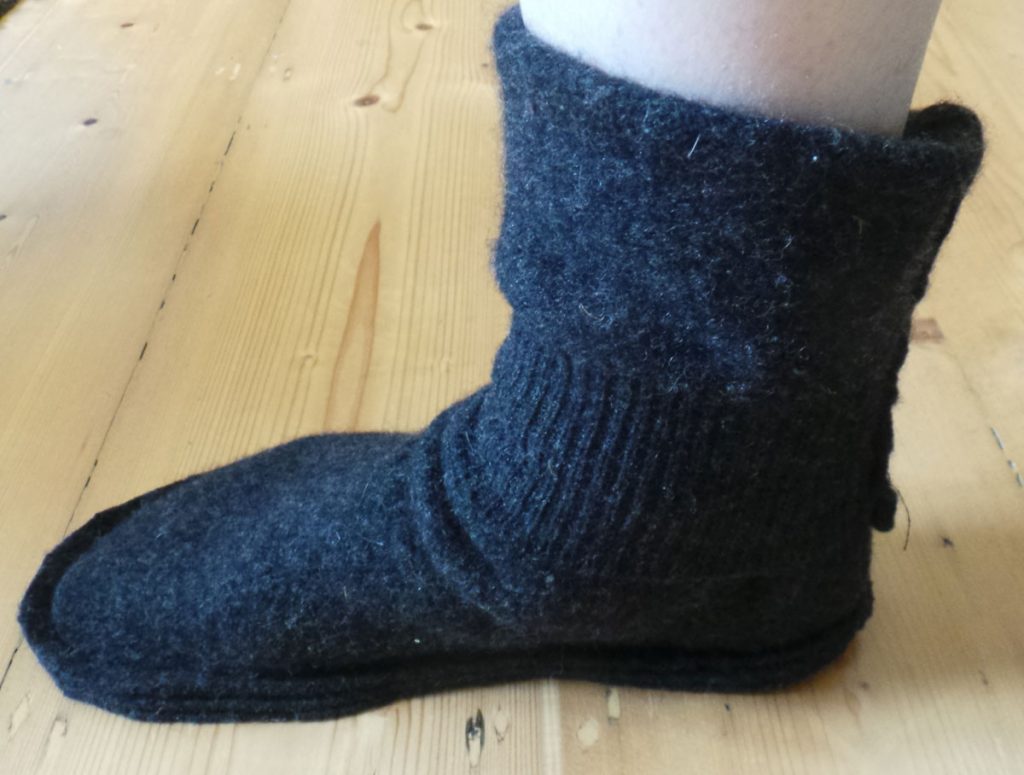
Try on and fold down cuffs
I like the way these look with the bagginess around the ankles but you need to fold the cuffs down to stop the slipper from moving around.
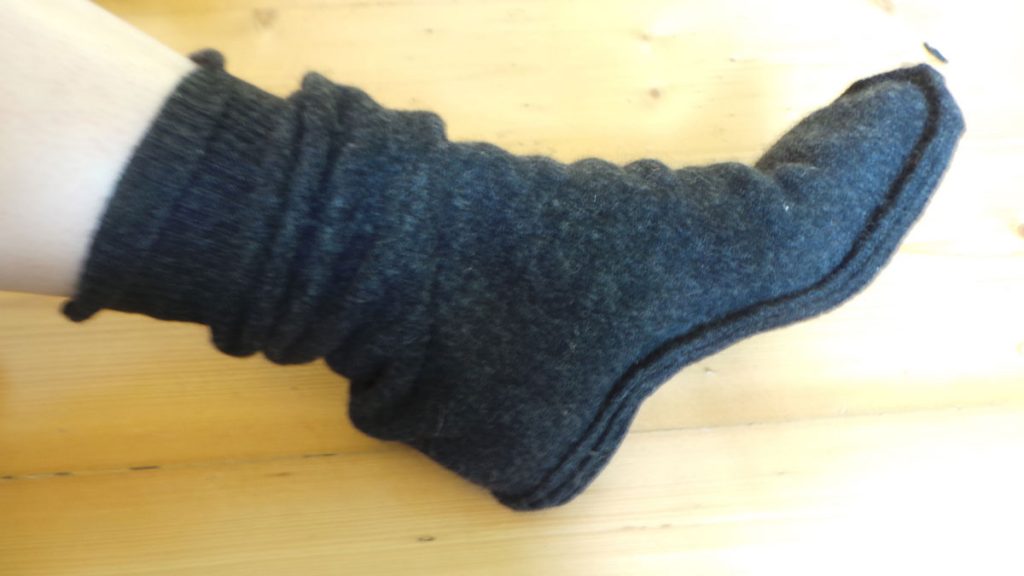
Before you turn the cuffs down the slipper is baggy around the ankle.
All done! Add strips of glue gun glue to the bottom if you find them too slippy