

 As a country, the UK is wasting an awful lot of money throwing away food.
“The average household lost £470 a year because of avoidable food waste, whilst those with children incurred a loss of £700, with the average person in the UK losing £200 a year.”
House of Commons, Environment, Food and Rural Affairs Committee, Food waste in England, Eighth Report of Session 2016–17
I like the idea of saving £200 a year but I know that any changes I make have to be easy to do, otherwise they won’t stick. Batch cooking is one of those things that can become a really good habit quite quickly. You can cook up reduced price vegetables, or look out for Wonky veg to save even more money. And the time saving is incredible! When I’m in the mood I’ll spend a Sunday morning listening to Cerys and cooking food to eat on the day and later in the year. It takes a while though, especially with a curry where you need the spices to develop in taste. So I was really excited to take part in the IKEA Curry in a Hurry workshop. Our one was especially for Lagommers but they are open to the public too, just check your local IKEA for times.
Are pressure cookers still scary?
I was a bit nervous before this workshop because I remember my grannies pressure cooking whistling and steaming and I’m sure I have a memory of the lid flying off once! It was like having a big dragon in the kitchen!
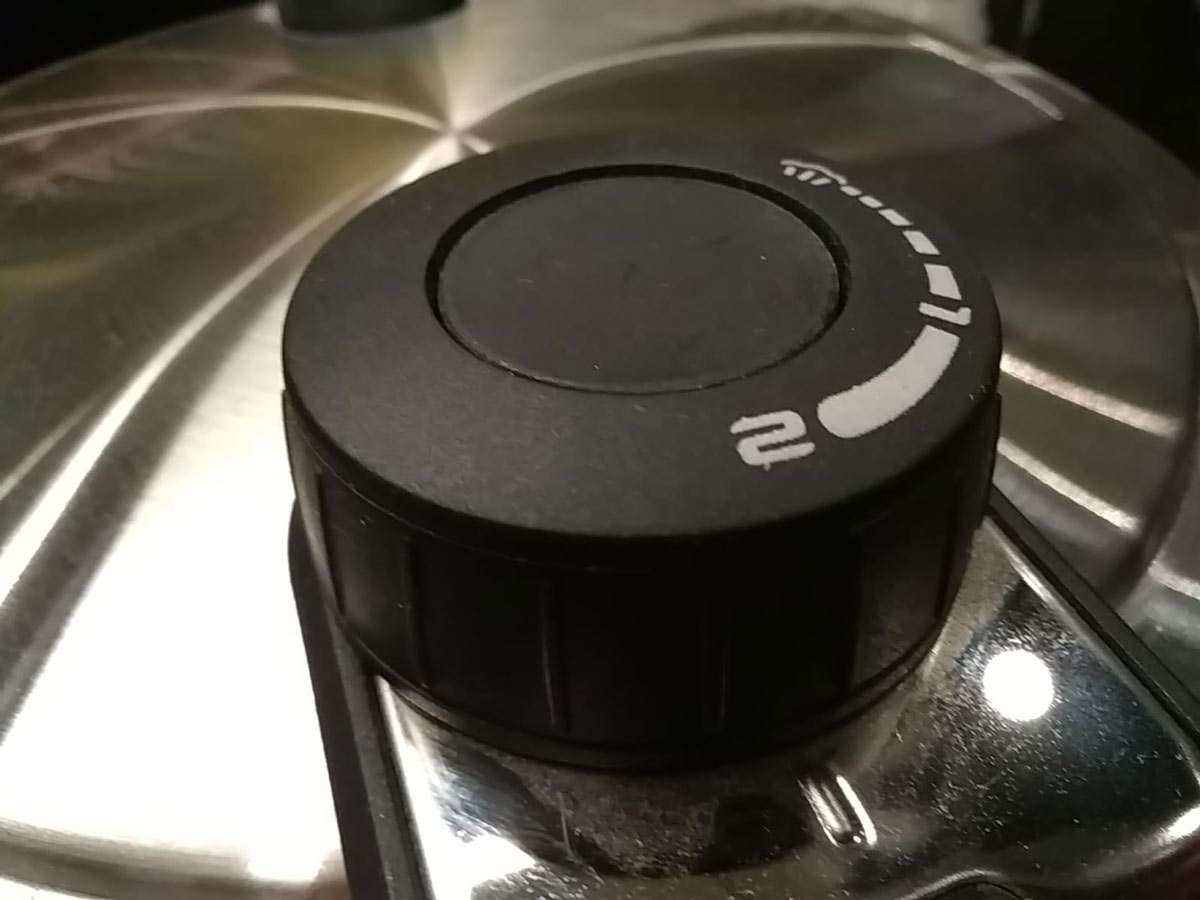
Things are very different now though and IKEA’s VÄRDESÄTTA pressure cooker looks really easy to use. It only has 2 settings and it comes with lots of safety features including a regulator, valve and a safety opening so you can release steam in three different ways if the pressure gets too high. There are no weights to mess around with and it is a nice big size, perfect for bulk cooking.
Another thing I didn’t know about IKEA is that some of the kitchen showrooms actually work! We did our workshop right in the middle of the store and loads of lucky people passing by got to taste the curry too.
Alison talked us through the cooking process and made mountains of food in front our eyes in a quarter of the time it would take me to cook curry normally. She used two pressure cookers and the built in Induction hob which works like magic to me because you can’t see any flames. Induction hobs are very economical to run because they heat up pans super fast. You can also control the amount of heat going to the pan very quickly and easily.

She made two dishes, Kidney bean and sweet potato curry with veggieballs and spicy rice and lentils. Both the pressure cooked dishes took as long to cook as the veggieballs so she put them in the oven while she cooked everything else.
Kidney bean and sweet potato curry

To start with she used the pressure cooker just like a normal saucepan. She heated up the oil and cooked sliced onions until they were soft.
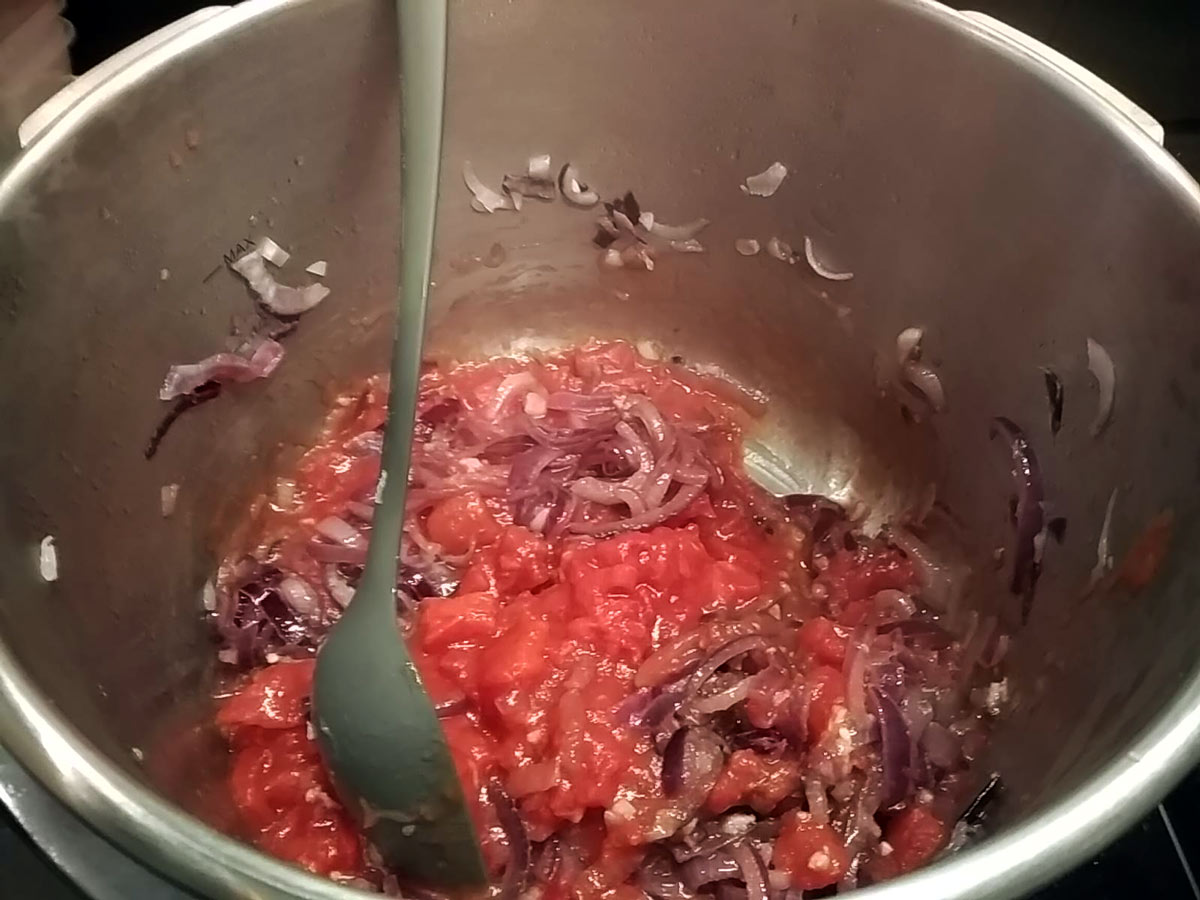
She added tinned tomatoes and cooked them through.
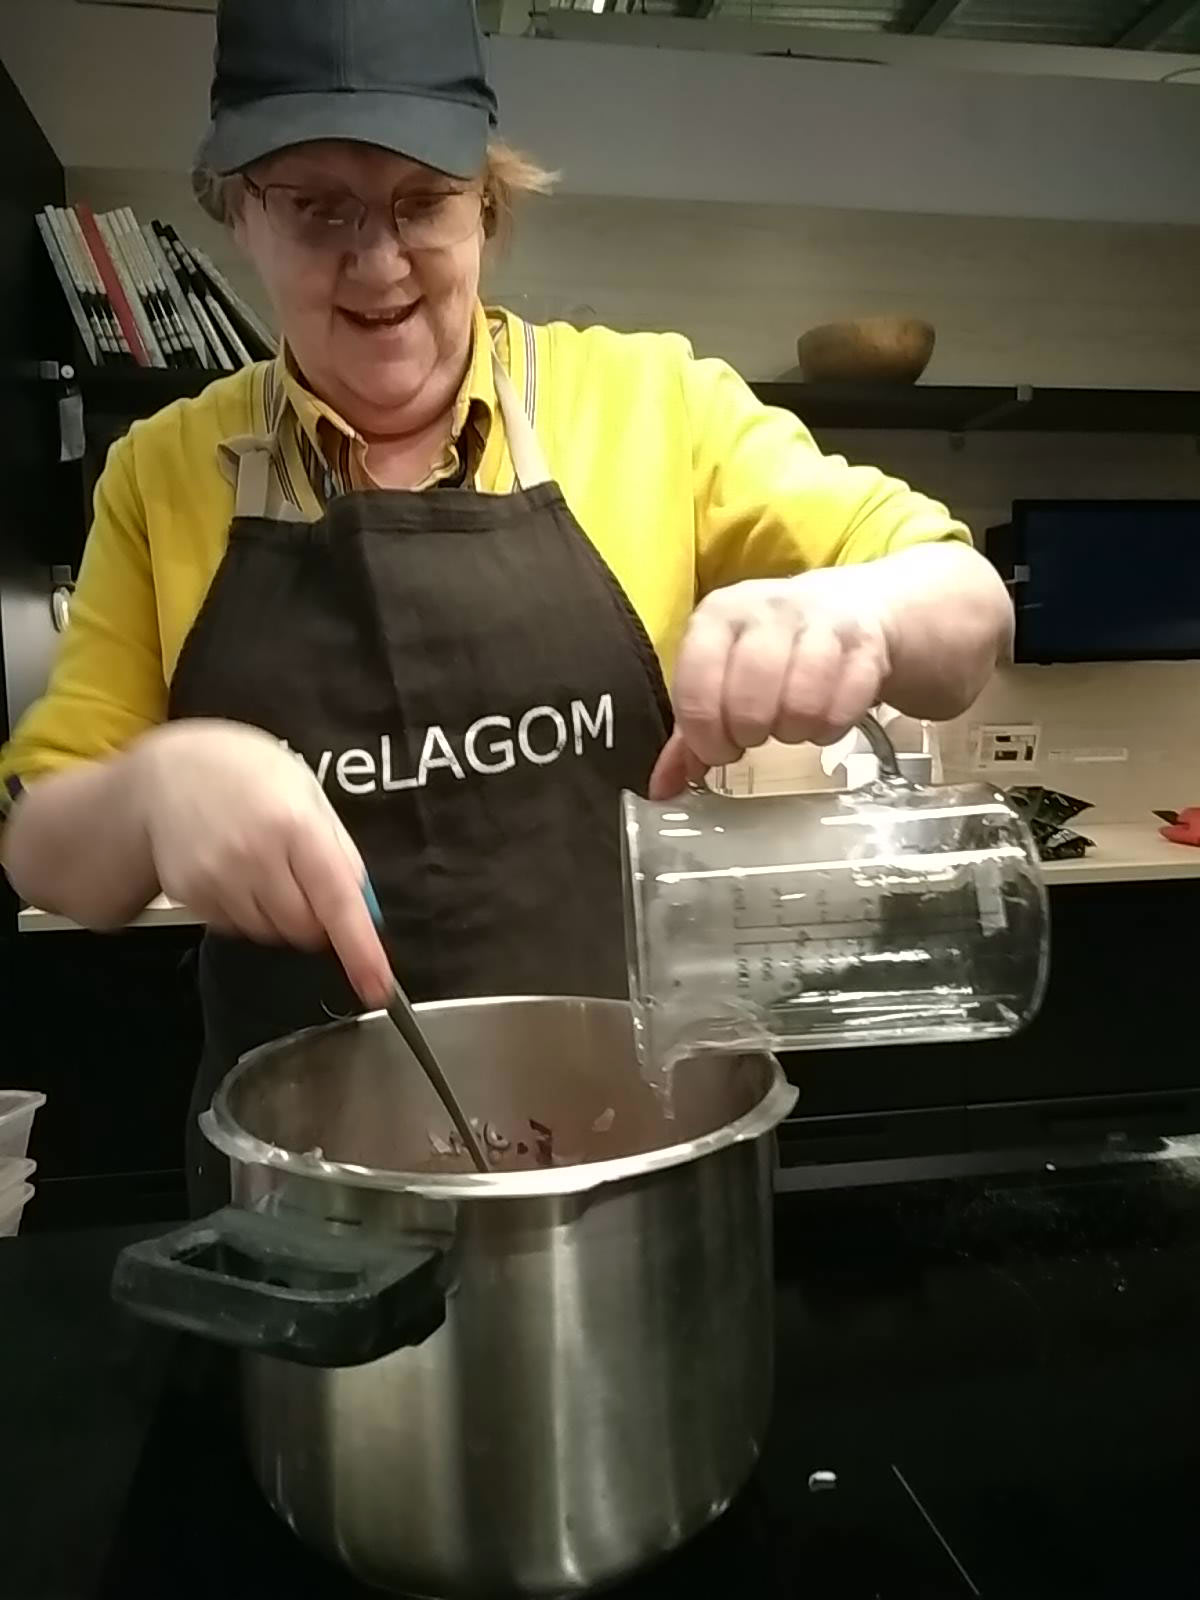
Then she poured in water.
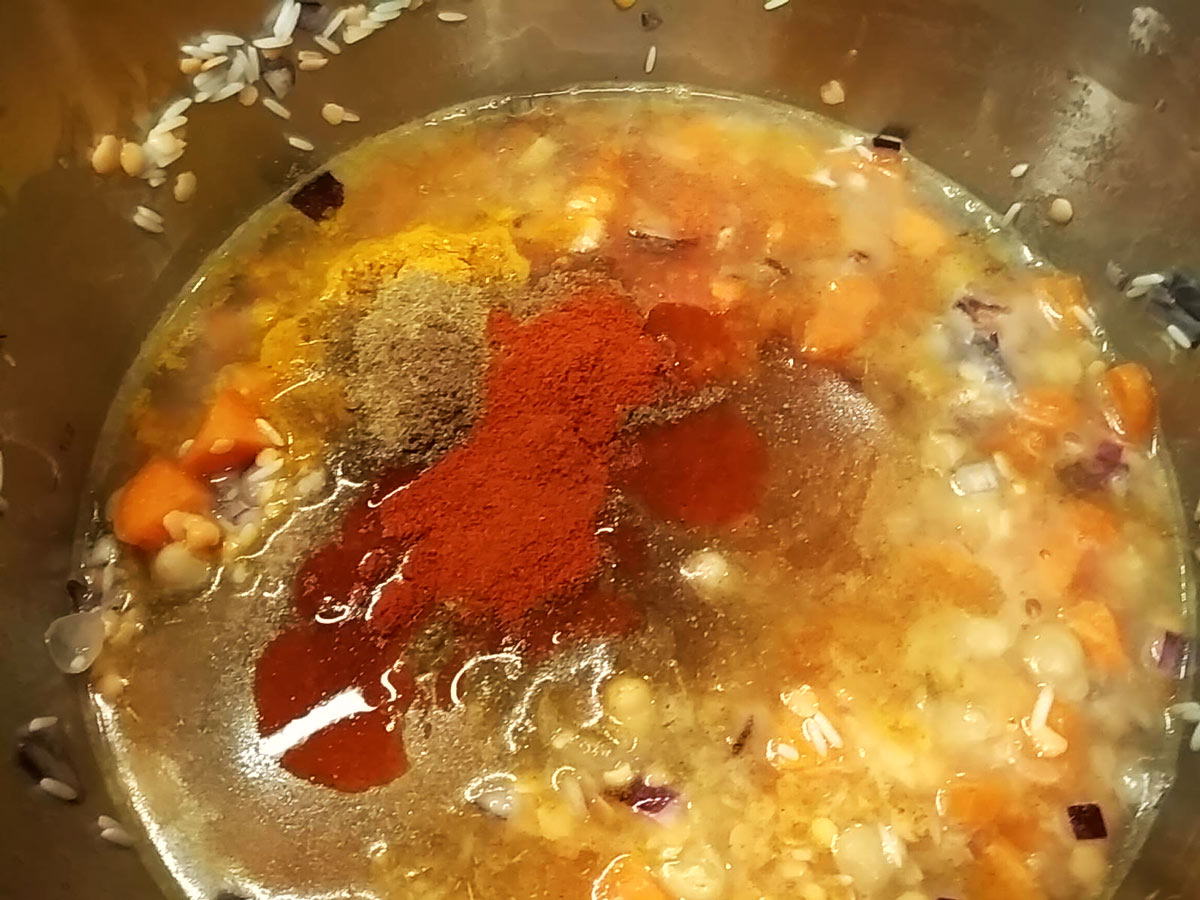
Then added spices. At this point it was starting to smell really good!
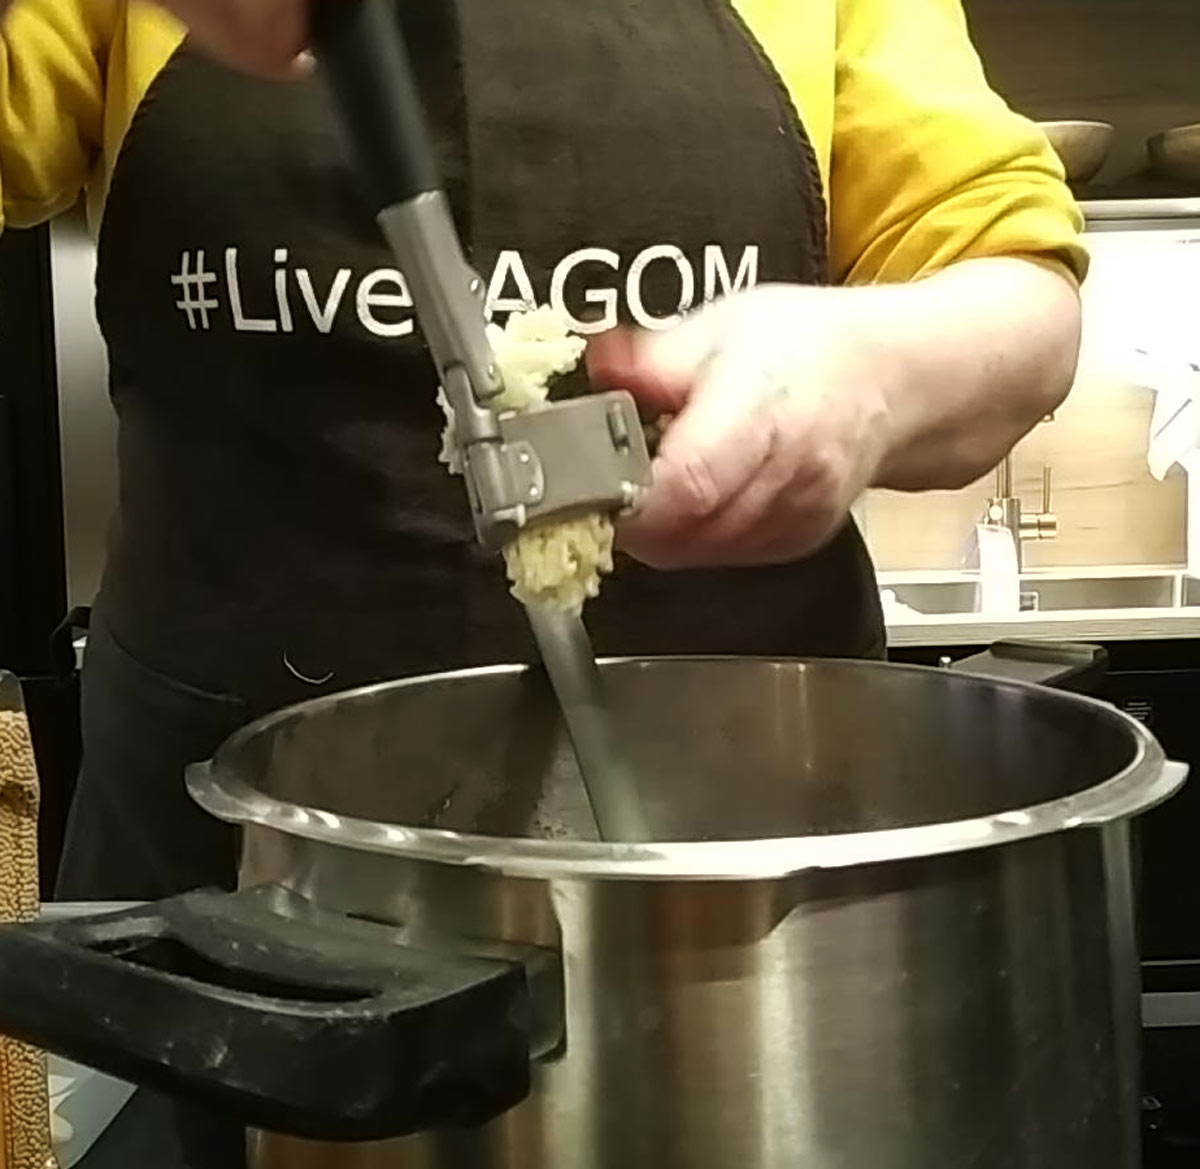
I like the look of this IKEA 365+ VÄRDEFULL garlic press, the clever design means it opens out and is super easy to clean. We were all surprised at the amount of garlic in the recipe but then we remembered this is for 8 portions of food.
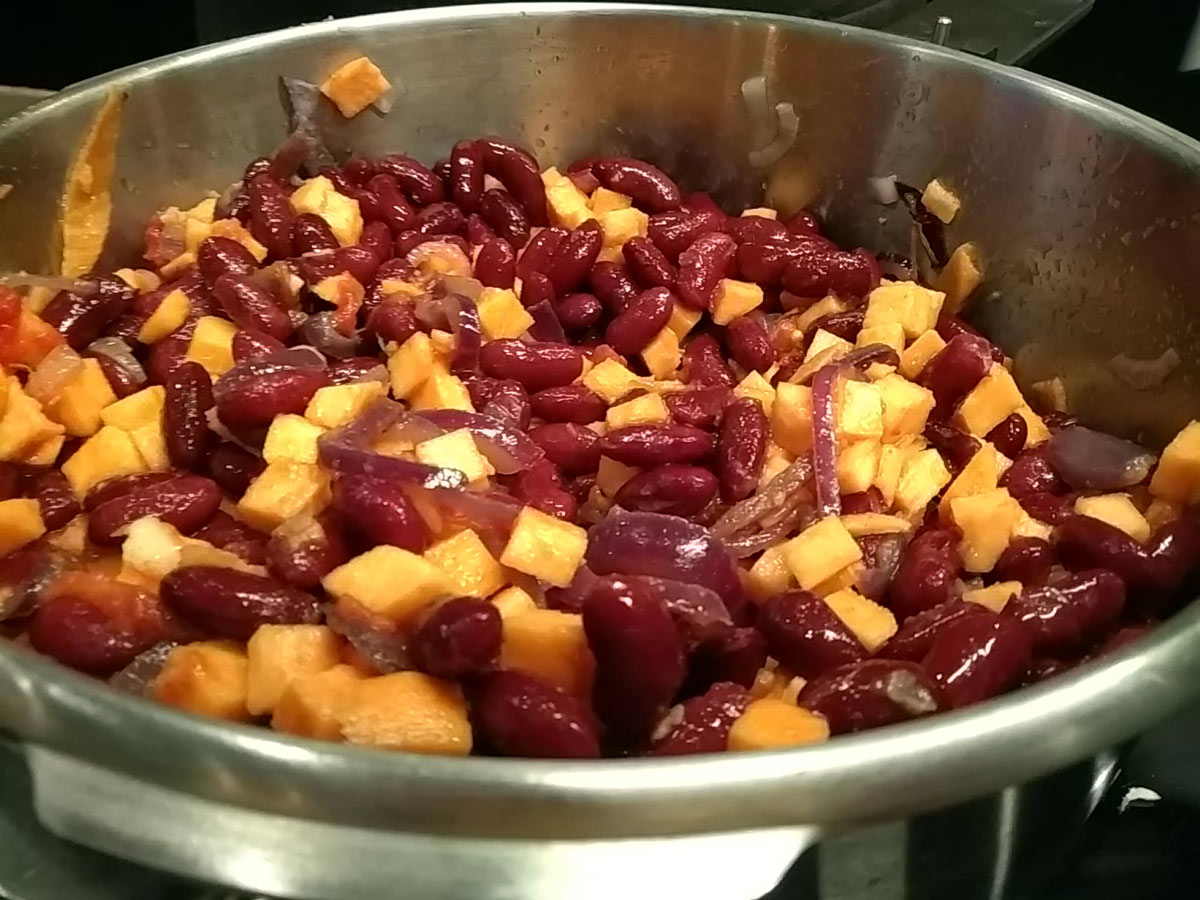
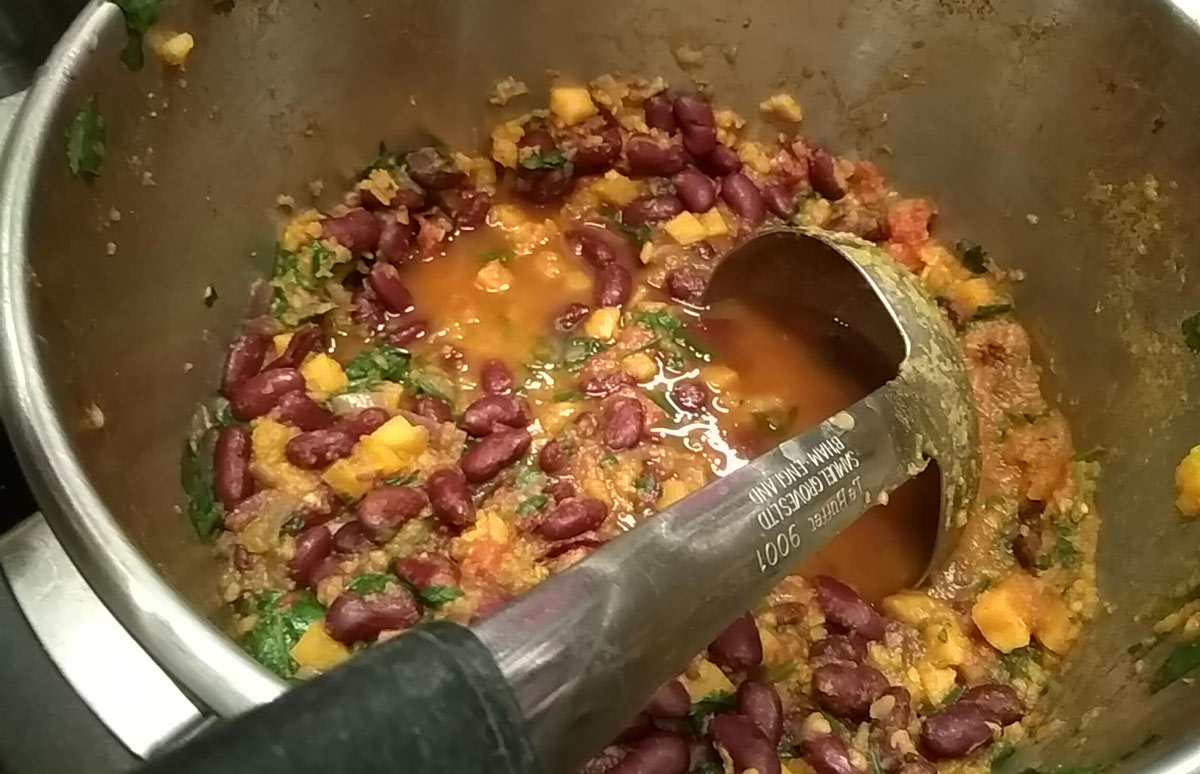
The beans and sweet potato were the last ingredients to go into the pot, then the lid went on
Rice and lentils
To make the second dish, Alison spent ten minutes rinsing off the starch from the rice and lentils. She left this to drain while she made the bean curry.
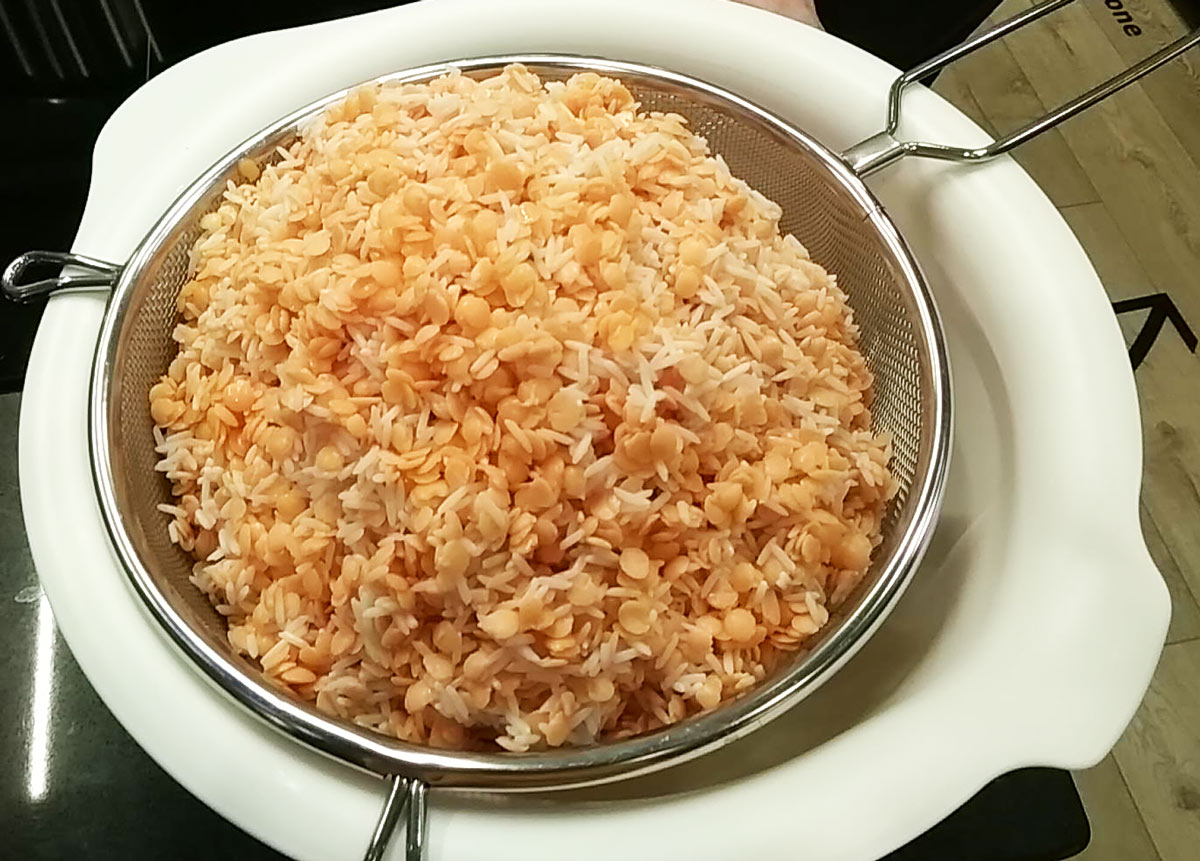
Lentils and rice draining before cooking
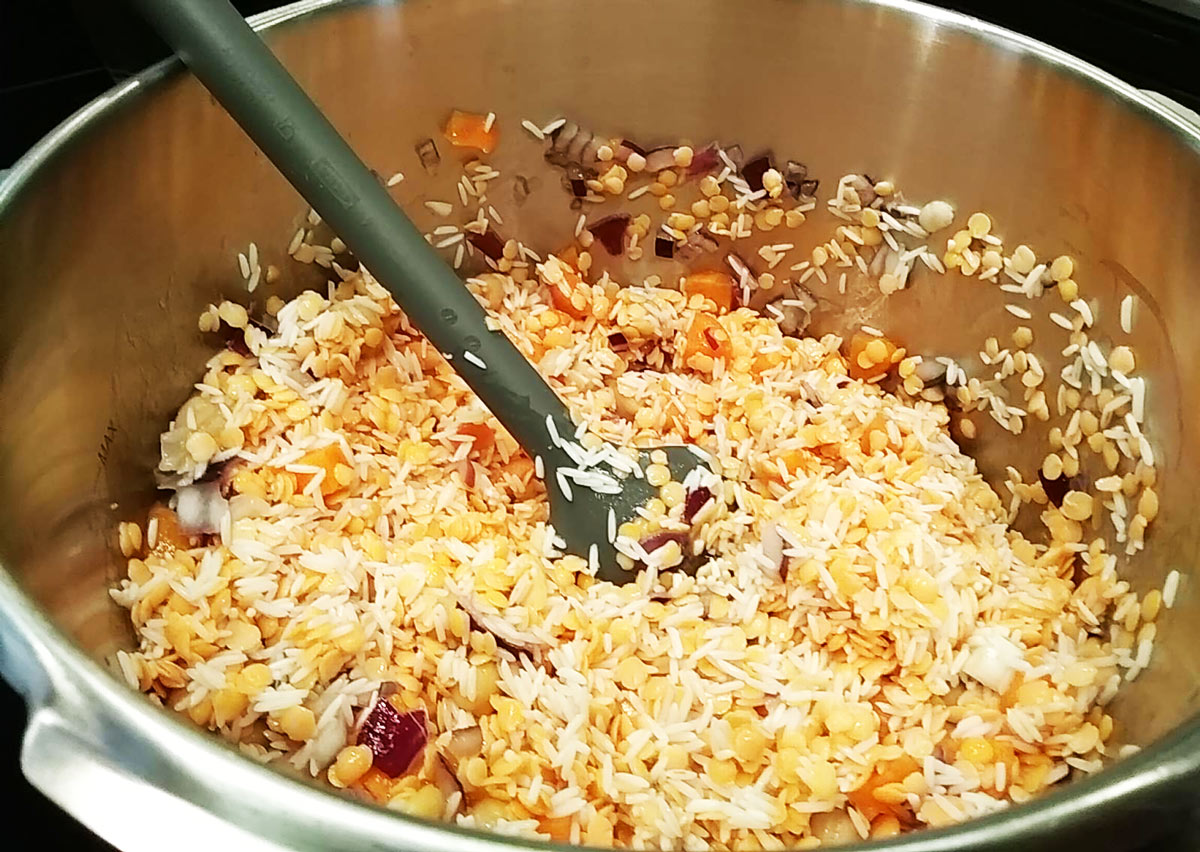
She heated oil in the second pressure cooker and added the rice and lentil mix as well as the onions and garlic.
She added the spices and poured in the water. It was as easy as that!
The rice and the curry could both cook on setting 2.
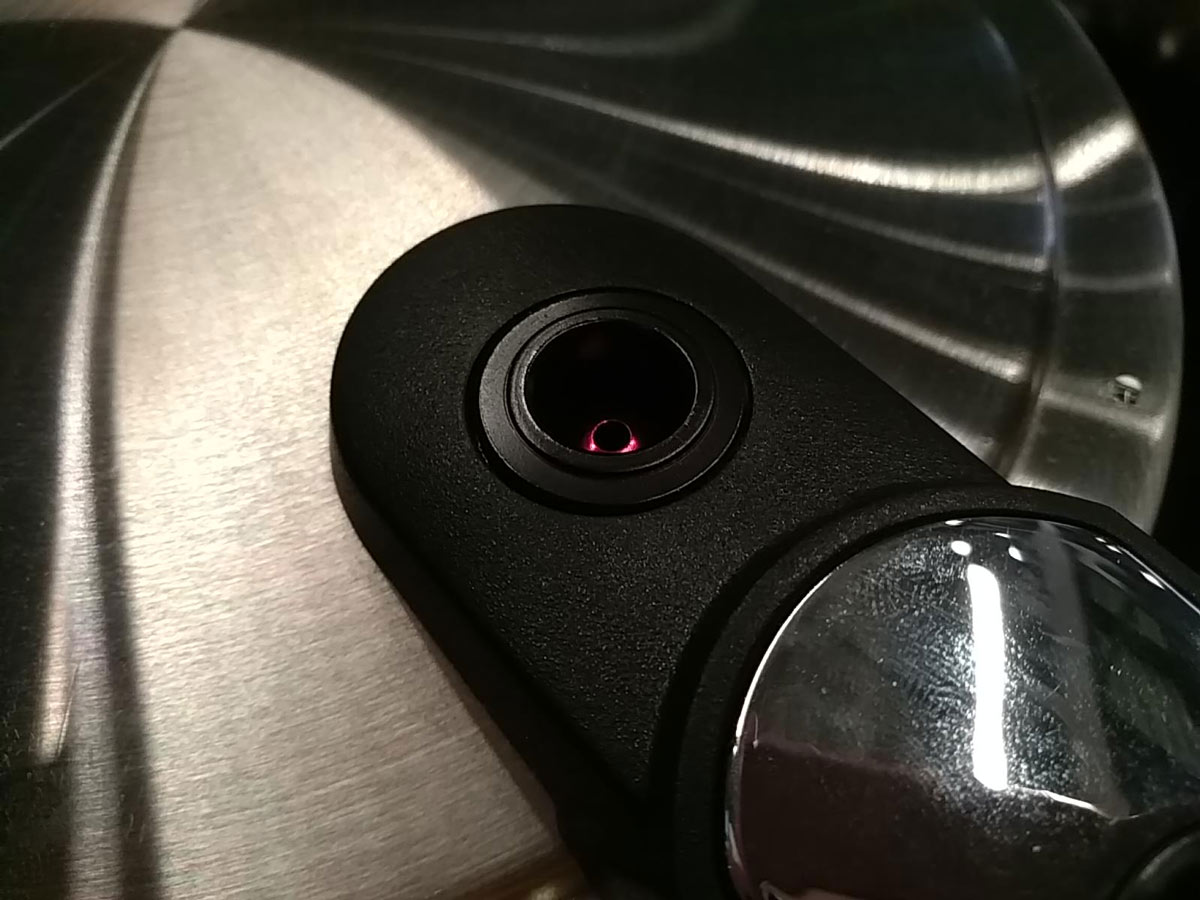
Alison turned the heat up and waited for the pressure valve to pop up – this locks the lid and tells you that your food is cooking under pressure.

Then we waited, and chatted and about 15 minutes later it was all ready.
You can’t just open a pressure cooker, you need to let the pressure drop first. You can do this by letting off some of the steam, or you can save even more money and stop cooking a few minutes before the end. There will still be enough pressure in the cooker to finish off the cooking.
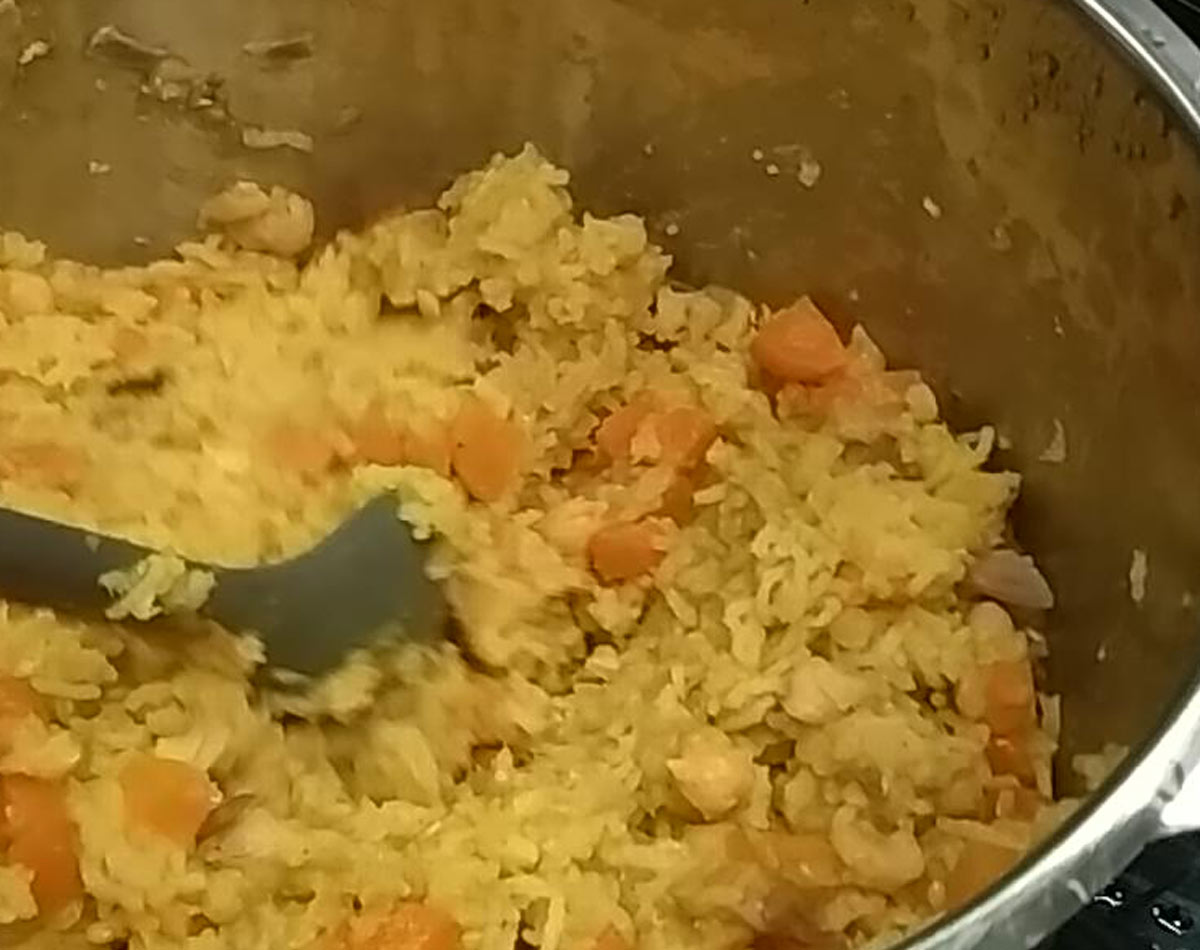
The rice looked amazing. Alison stirred in coriander before serving up the curry.
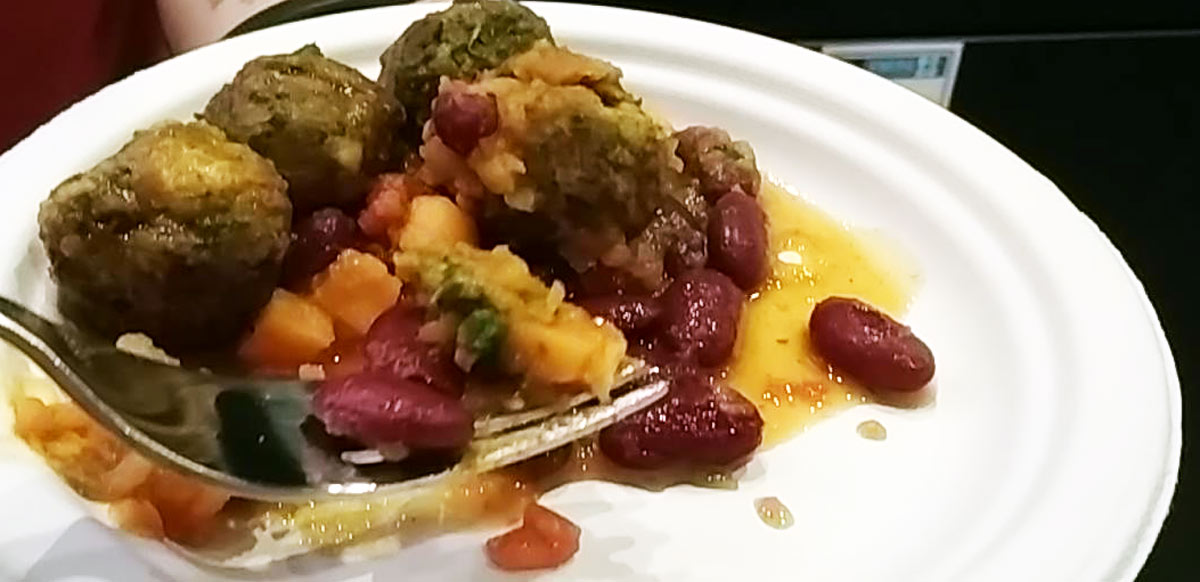
Which went really well with the veggieballs.
One of the ways to let off the pressure gives you a big blast of steam but that was the scariest part of the workshop. I’m amazed at how easy Alison made it look, even though she had never used a pressure cooker before! We were not quite sure when to start the timing from but it makes sense that it is when the pressure valve pops up.
What to do with 8 portions of food
Bulk cooking can save you a lot of time. One session of cooking can mean 8 meals in the freezer ready for when you don’t feel like cooking. You can cook what is in season or on offer and eat it later if you don’t fancy it now. I’m a big fan of bulk cooking.
IKEA have lots of solutions to make saving portions of food easier too. The IKEA 365+ range is incredibly versatile and includes different sized containers in glass and plastic that go with lids that are snap on plastic, silicone or bamboo. So you could use a glass container and a silicone lid, freeze the whole lot then bung it all in the oven when you want to eat it. The plastic is fine in a microwave too. And the bamboo looks so stylish. They have even thought of colour coding the rubber bits of the lids.

Tara tells us about the amazing food storage solutions at IKEA
The rubber gasket comes in different colours so you can have a colour for each family member, type of food or day of the week. I think this will come in handy for freezing things because I’ll be able to tell very quickly if the frozen meal is vegan, meaty or fishy.
Frozen food top tips
Put a date on it!
Fruit and veg can be frozen as soon as it is picked and when it is in perfect condition. That means it will be packed with nutrients at the start but those levels will decrease the longer you keep food frozen.
Get your moneys worth
It is worth spending more money on a freezer that will be cheaper to run. You could save £200+ a year running an A++ freezer compared to a C grade.
Keep it covered
Freezer burns are made by ice crystals formed when air mixes with moisture. Keep food covered in airtight containers and bags so it lasts longer.
Don’t freeze these
Water will expand as it turns into ice so leave space in glass and plastic containers if you are freezing soups or water things. Don’t freeze anything fizzy!
Freeze it again
You can refreeze food but there is a danger that bacteria might have started to multiply before you get it back in the freezer.
IKEA told me about their toss, freeze, cook guide which will help you stay safe
“Toss if:
- Temperature went above 4°C, the temperature range in which food-borne bacteria can grow (roughly 4–5 to 60 °C).
- It smells funny, trust in your senses.
- You have any doubts.
Refreeze if:
- Temperatures are still below 4 °C. Food should not have been kept out of the freezer for more than a couple of days, especially when it comes to meat.
- Thawed fruits doesn’t smell bad or have any signs of mold. They will be softer but they won’t be off. It takes a long time for fruits to ferment and you usually know about it when they do!”
Full of ideas!
I love being part of the IKEA Live LAGOM community. There is always something new to learn and IKEA provide genuinely useful solutions to day to day problems. It is nice to feel comfortable around pressure cookers now and I’d be happy to cook in one.
For more ideas about money saving, bulk cooking and healthy delicious eating visit https://www.feedmegood.co.uk/ which is run by my fellow Lagommer Nureen. She is fab and full of good, practical down to earth tips to make your meals delicious.
Also check out https://www.lovefoodhatewaste.com/recipes for great ideas to use up leftover food, https://www.supercook.com/#/recipes where you can put in your own ingredients and get ideas and you can get a free A-Z of leftover food ideas right here.
Recipes
These are for pressure cookers and induction hobs but it would be easy to cook them on gas or electric cookers in a normal pot. It will just take longer.
Kidney bean & sweet potato curry (Serves 8 – 10)
Preparation Time: 15 minutes Cooking Time: 20 minutes
Ingredients
- 3 tbsp olive oil
- 2 tsp mustard seeds
- 4 medium onions, finely sliced
- 800ml chopped tomatoes
- 400 ml hot water
- 2 tsp. salt
- 2 tbsp. brown sugar
- A big pinch of hot chilli powder to taste
- 8 garlic cloves crushed
- 2 tsp turmeric
- 4 tsp garam masala
- 4 tsp cumin and coriander powder
- 3 cans of kidney beans, drained and washed
- 3 medium sweet potato cut into small cubes
- 2 packs of veggie balls
- Big bunch of chopped coriander
Method
Heat the oil in the pressure cooker.
Once the oil then add the onions.
Stir occasionally to ensure that the onions don’t burn. When the onions have browned (about 5 minutes) add the chopped tomato, hot water, salt, brown sugar, chili, crushed garlic, turmeric, garam masala and cumin and coriander powder.
Let your sauce cook for a few minutes on a low heat, taste the sauce and check if it is flavorsome enough, add more chili if you need to, then add the beans and sweet potato. Stir thoroughly.
Place the lid on the pressure cooker and cook on the second setting NUMBER 2 for 10 minutes, the electric hob setting for this is NUMBER 5.
Leave the pressure cooker to cool and remove the steam carefully, (this is the steam setting)
Once it is safe to open, stir in the chopped coriander.
Serve with steaming hot Kicheri and veggie balls.
Kicherie (Serves 8 – 10)
Kicherie is a Rice based dish that has lentils in it with vegetables sometimes… It is a comfort food. Using a pressure cooker makes everything more soft and delicious than in a pan where it’s actually quite difficult to cook lentils and rice at the same time as the rice usually overcooks. The magic of the pressure allows you to cook both successfully without over cooking.
Preparation Time: 10 minutes Cooking Time: 15 minutes
Ingredients
- 400g Basmati Rice
- 300g Red Lentils
- 2tbsp Olive Oil
- 2 Small Onions chopped finely
- 4 Carrots (long ones)
- 400g Chick Peas
- 2 tsp Salt
- 2 tsp Turmeric
- 2 tsp Cumin
- 2 tsp Coriander Powder
- 1tsp Red Chili Powder (to taste)
Method
Place the rice and lentils into a large bowl and wash thoroughly with warm water. You need to rinse the rice out at least 6 times so all the starch is washed away. (You can do this ahead of the cooking). Then cover the rice and lentils with water and set to one side.
Place the oil in the pressure cooker and let it warm up, on a medium heat for 2 minute
Add the onion, carrot and chickpeas, stir thoroughly
Give the lentils and rice one last rinse, add to the pressure cooker with 1 litre of hot water.
Add the salt, turmeric and cumin and coriander powder.
Stir again and then place the lid onto the pressure cooker and let it cook on the NUMBER 2 setting for 12 minutes. ELECTRIC HOB SETTING NO:5
Leave the pressure cooker to cool or remove the steam carefully.
Cook the veggie balls on a tray in the oven while the rest cooks.
Disclosure
This is a sponsored post but it does not contain affiliate links. All words and opinions are my own and I only promote products I am passionate about.